Life in Ideas
Gift Wrapping Station Ideas for Small Spaces
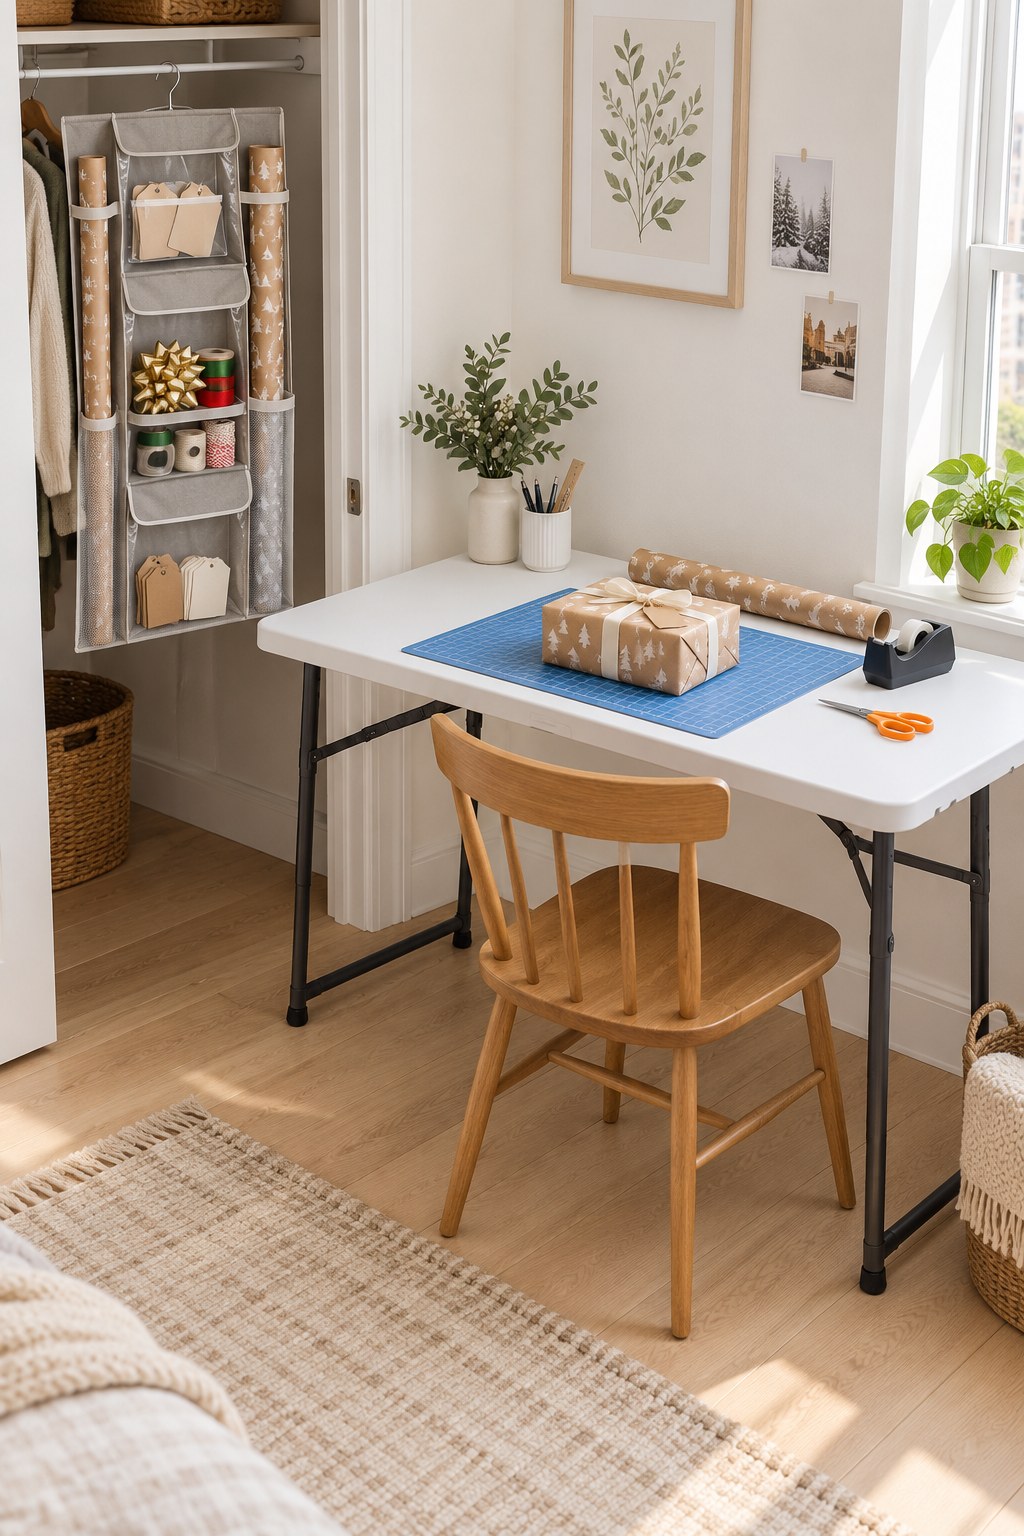
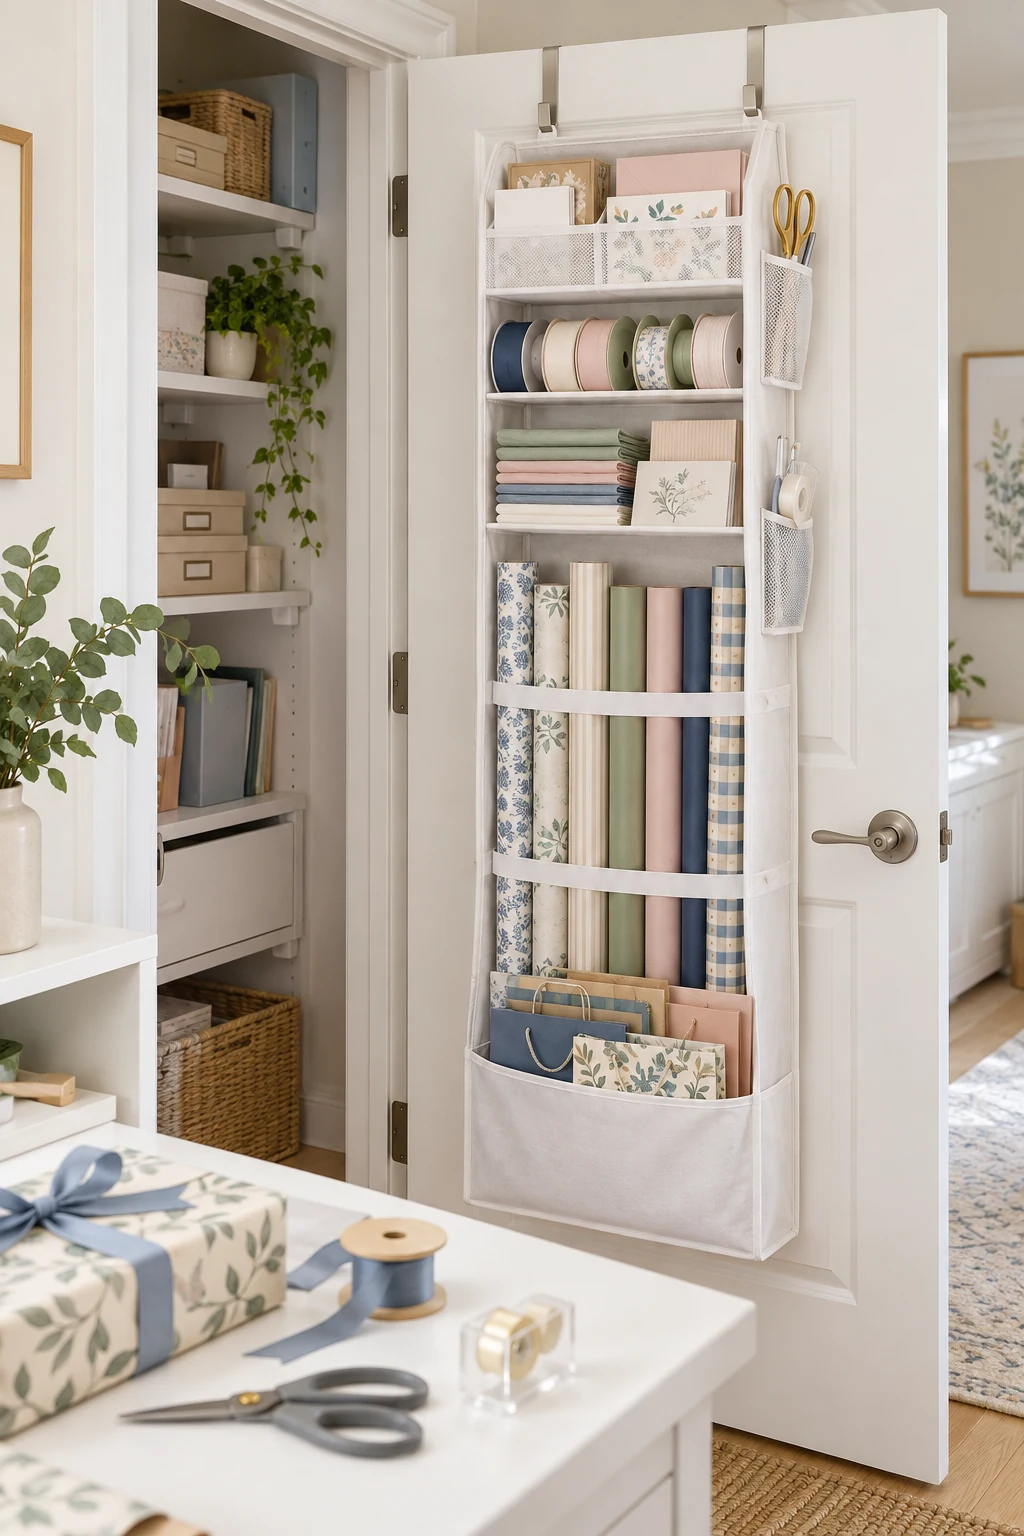
Gift wrapping is easier to start when the supplies have a home, even if the worktable cannot stay out. This small-space arrangement brings a folding surface together with closet storage and a compact set of tools. Open it when there are presents to finish, then put it away with the next wrapping session in mind.
Shop the Look

Lifetime Folding Utility Table
An adjustable-height work surface with folding legs. Set it up for a wrapping session, then store it where its full length will fit.
View on Amazon ↗
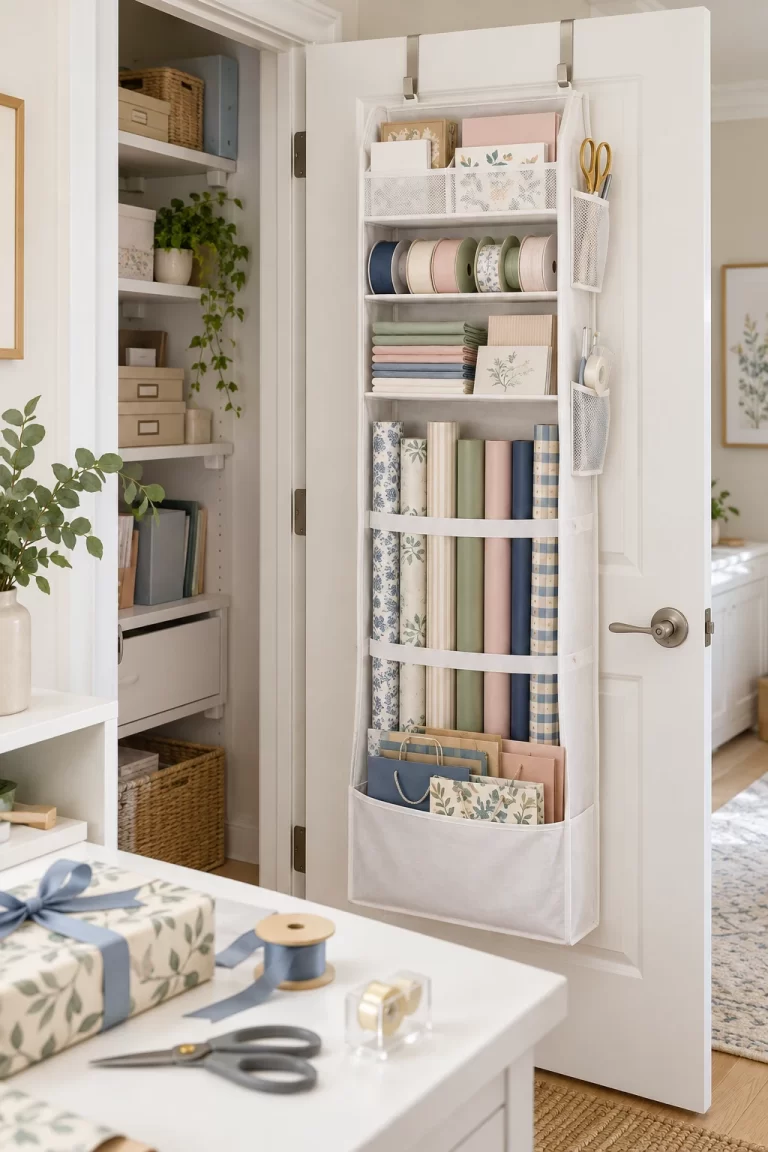
SimpleHouseware Hanging Organizer
Double-sided fabric storage separates paper rolls, bags and small supplies. Hang it on a suitable closet rail with the working side facing out.
View on Amazon ↗
Dahle Blue Cutting Mat
An 18-by-24-inch gridded mat defines a compact cutting area and protects the work surface during trimming.
View on Amazon ↗
Fiskars Orange-Handled Scissors
Bent handles help keep paper flat as you cut. Store this pair with wrapping supplies so it is easy to find next time.
View on Amazon ↗
Hallmark Kraft Holiday Paper
White trees, antlers and snowflakes keep the wrapping palette simple. Reverse-side grid lines help plan cuts before folding.
View on Amazon ↗
Scotch Tape and Desktop Dispenser
A compact desktop dispenser keeps tape accessible while you hold the paper in place. Refill rolls store in the organizer.
View on Amazon ↗As an Amazon Associate I earn from qualifying purchases. Affiliate Disclosure

Make the Station Temporary, Not the Supplies
Gift wrapping station ideas for small spaces do not need a dedicated craft room. Give the supplies a permanent storage spot and bring out a work surface only when it is needed. This arrangement uses a hanging closet organizer beside a folding table, so the paper stays organized between birthdays and the winter holidays.
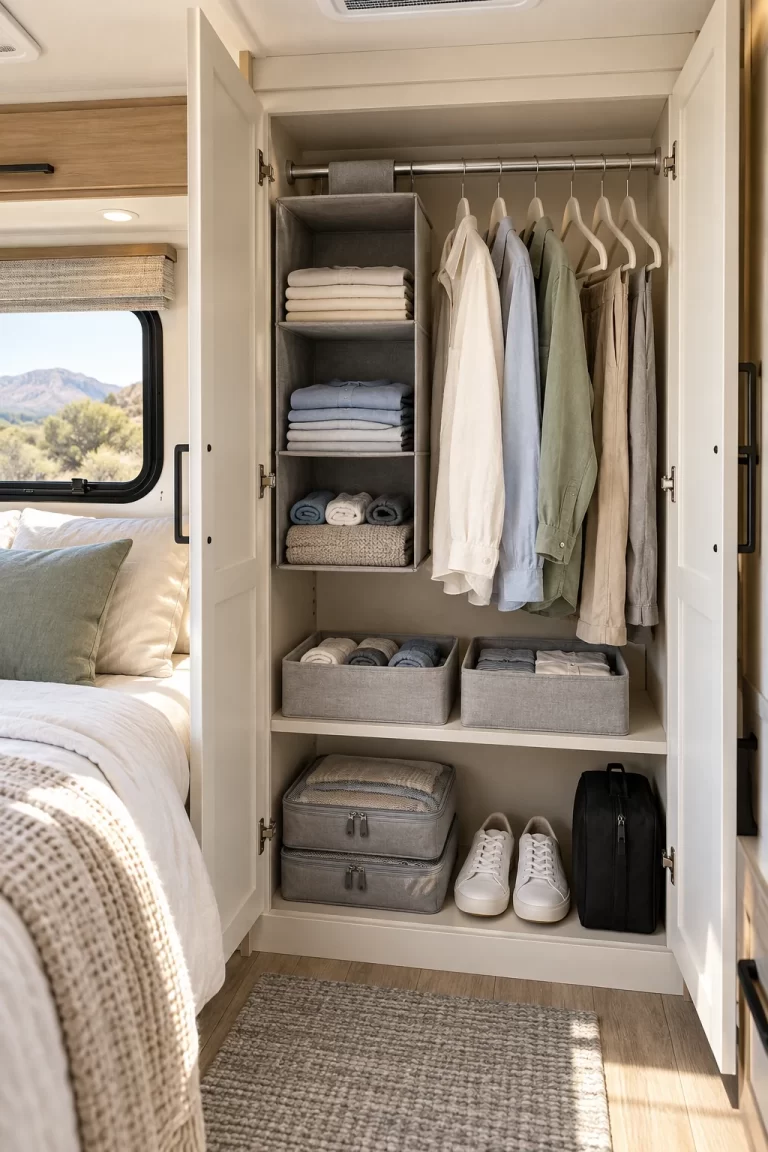
Choose the storage location first. Check that the closet rail can carry the organizer and that the lowest pockets will clear the floor. Its nominal 20-by-46-inch size needs an open vertical section of closet space, including enough room for any paper that projects above a pocket.
Face the paper-and-tool side toward the opening during a wrapping session. The opposite side can hold folded gift bags. Put the organizer back among your stored supplies afterwards, leaving the closet opening available for normal use.
Set Up a Work Surface That Fits Your Routine
The selected Lifetime table has a 48-by-24-inch top, which is useful for small and medium presents when the room can accommodate it. Measure the open table and your chair together rather than measuring only its stored footprint. Leave access to the closet so you can retrieve supplies without moving the table each time.
This model has folding legs and a single tabletop. Do not plan on it folding into a suitcase-sized square. Measure the cupboard, bed clearance or other place where you intend to store its full-length top before choosing it.
Adjust the table to a comfortable working height and fully secure the leg supports according to the instructions. An existing dining table can serve the same purpose if you already have one available. The useful change is bringing the supplies together, not buying furniture that duplicates what you own.
Keep the Cutting Area Separate From Storage
Place the 18-by-24-inch mat with its longer side along the table. This leaves another section of tabletop available for scissors, tape and the present. Keep unused rolls in the organizer rather than spreading them across the whole surface.
The selected paper rolls are 30 inches wide, so a complete uncut sheet extends beyond the mat. Measure the amount needed around the box first. Use scissors for the larger initial cut, then make any mat-based trimming only over the protected area; the mat does not protect the uncovered edges of the table.
Check the paper overlap before taping. Kraft paper has a different surface from glossy gift wrap, and adhesive performance can vary. Try a small piece of your chosen tape on an offcut before wrapping the gift, then press each finished seam firmly. The grid on the paper’s reverse side is useful even when you cut with scissors.
Pack Away in the Order You Will Use It Next
Keep one working tape roll and the scissors easy to reach, with refills behind them. Flat tags and short ribbon lengths belong in the smaller pockets; paper rolls need the deep slots. Avoid turning the organizer into a heavy catchall for unrelated craft equipment.
At the end of a session, close the scissors, secure loose paper ends and return the tools to their pockets. Store usable paper offcuts together instead of mixing them with scraps. Fold the table only after the surface is completely clear.
A quick reset makes the station useful for everyday gifting as well as Christmas. When the next present needs wrapping, you can bring out the table and choose paper without searching several cupboards. The clear floor and available tabletop return as soon as the session is finished.
Explore more Gift Wrapping Station Ideas or browse Home Organization.