Life in Ideas
Rolling Cart Gift Wrapping Station
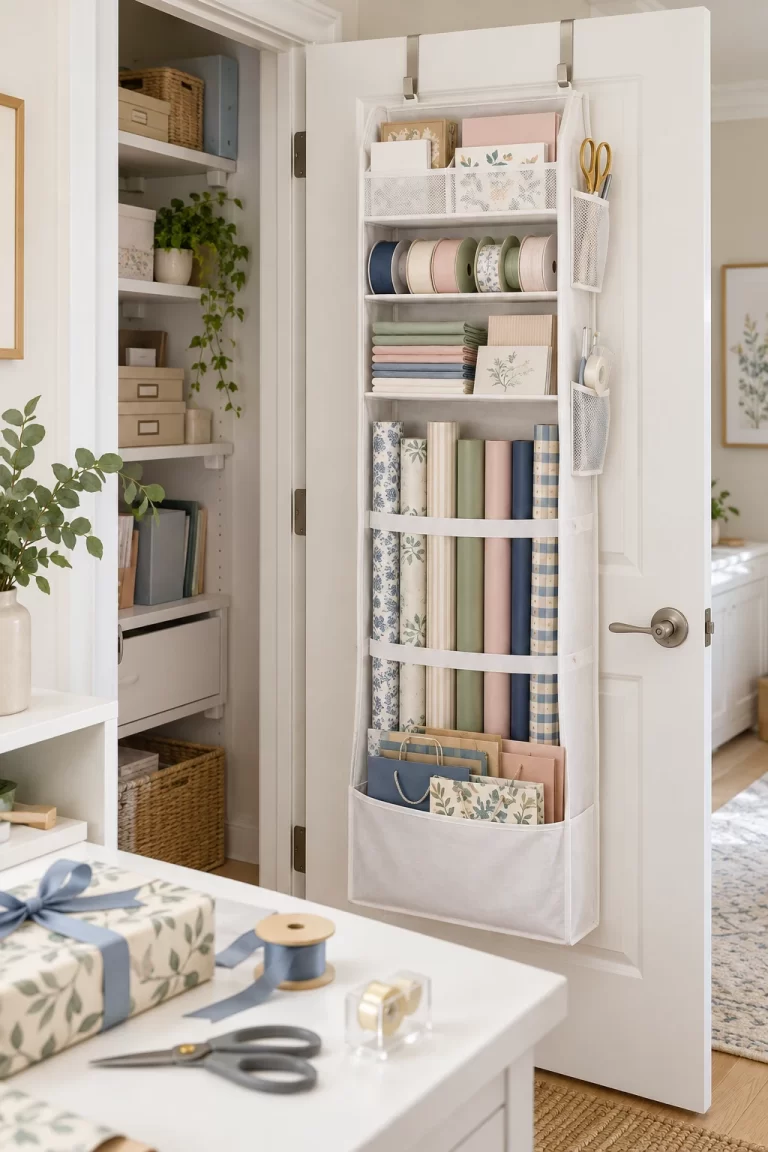
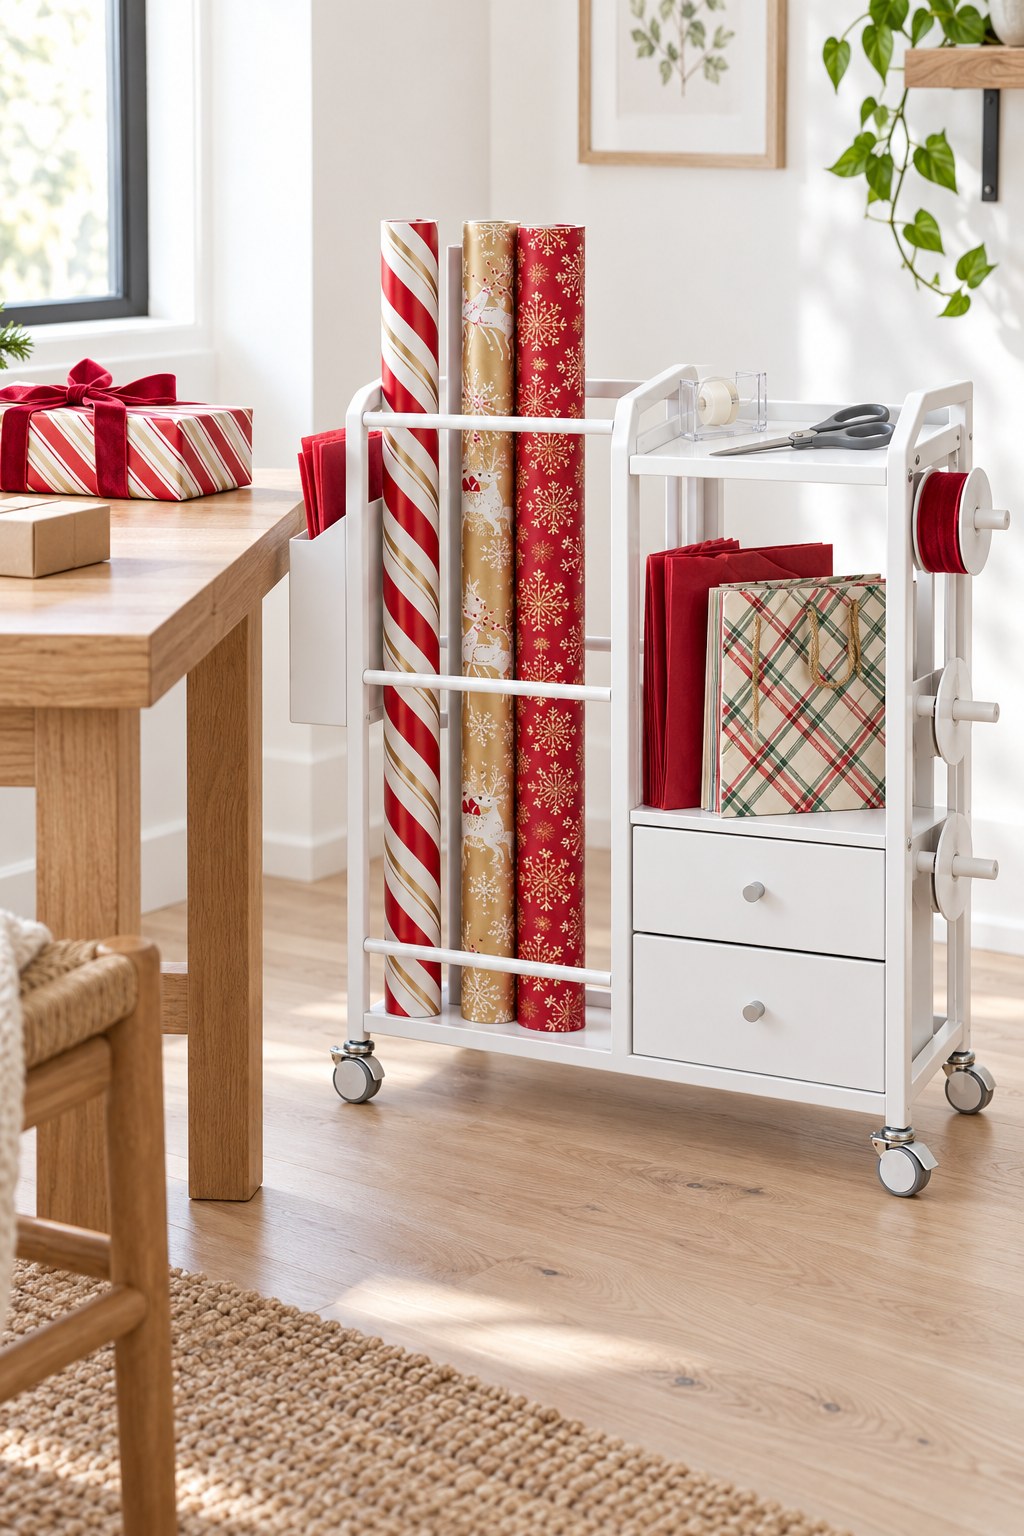
A rolling cart can keep the wrapping supplies together while an existing table handles the folding and cutting. Give paper rolls an upright place, keep small tools visible and leave the tabletop ready for the gift in front of you. Once the presents are finished, the supplies can return to their usual parking spot.
Shop the Look

Aquzee Gift Wrapping Cart
Upright roll storage, drawers and an exterior ribbon rack put supplies within reach. Lock its casters when the cart is parked beside your table.
View on Amazon ↗
Hallmark Red and Gold Paper
Reversible holiday rolls offer coordinated patterns. Select one design for the parcel and keep the remaining rolls upright in the cart.
View on Amazon ↗
Tianying Red Velvet Ribbon
A soft, single-faced velvet ribbon brings texture to simple wrapped boxes. Store its spool on a suitable ribbon dowel.
View on Amazon ↗
Fiskars SoftGrip Scissors
All-purpose steel blades handle paper and ribbon cutting. The grey handles keep the tool kit visually quiet.
View on Amazon ↗
Scotch Gift Wrap Tape
Small handheld dispensers can move between the cart and work surface. Keep the spare rolls in a drawer.
View on Amazon ↗
Hallmark Gift Bags With Tissue
Folded holiday bags and included tissue provide an alternative for awkward-shaped gifts. Store them flat in a compartment that fits their width.
View on Amazon ↗As an Amazon Associate I earn from qualifying purchases. Affiliate Disclosure

Let the Cart Store and the Table Work
A rolling cart gift wrapping station works best as a supply hub beside a proper work surface. The cart keeps rolls upright and separates small tools from gift bags; the table gives you room to measure paper, turn a box and make the final folds.
Use an existing dining or craft table whenever it is available. A cart’s top tray is helpful for tools, but it is not a substitute for a surface large enough for the present and an unfolded sheet of paper. In this arrangement, the table stays mostly clear while the supplies sit at its side.
Decide where the cart will live between sessions before buying it. Include the exterior ribbon holders and storage pocket when checking the available space. The selected Large cart lists dimensions of 11.8 by 32.3 by 31.5 inches; confirm the chosen variant and the dimension diagram against your parking spot.
Choose Rolls Around the Storage, Not the Other Way Around
The paper selected here is 30 inches wide. Check the cart’s lower supports, retaining rods and available height before adding the rolls. Adjust the rods according to the instructions so the paper rests on its support and remains contained when the cart moves.
Keep frequently used designs nearest the accessible side. The red-and-gold rolls work together, so you can switch a reverse-side pattern without introducing a completely different palette. Do not fill every slot simply because it exists; spare space makes it easier to remove a roll without crushing the neighboring edges.
Secure loose paper ends with a gentle roll band supplied with the cart or another suitable reusable fastener. Avoid pulling adhesive tape directly off the printed surface whenever it could tear the finish. Return the roll to storage after cutting rather than leaving it across the table.
Give Ribbon, Bags and Tools Different Places
Place a ribbon spool on an exterior dowel only after checking that the core fits and the spool turns freely. Single-faced velvet has a textured side and a smoother reverse, so adjust the loops as you tie a bow to show the velvet outward. Keep the loose end controlled while moving the cart.
Fold gift bags flat and separate them from tissue paper so the sheet edges remain easy to find. The selected large bags vary in orientation and width. Measure the usable bag compartment before fitting them; if a wide bag does not fit, store it flat elsewhere instead of forcing its corners into the cart.
Keep one tape dispenser and the closed scissors in the working tray while wrapping. Store spare tape and other small items in a drawer. This division keeps the tools available without turning every open section into a pile of supplies.
Park, Wrap and Reset
Roll the cart to the accessible side of your table, where the drawers can open without hitting a chair. Lock the casters before taking supplies out. Check the assembled cart’s stability with a modest load and follow its instructions for moving and loading.
Work on one parcel at a time. Measure the paper around the box, cut the sheet and return the roll to the cart before folding. Bags with tissue are a useful alternative when a shape needs more paper than a compact table comfortably handles.
Finish by removing scraps, returning tools and securing the remaining rolls. Unlock the casters only when you are ready to move the cart back to its storage spot. A clear work surface and organized cart make the setup easy to reuse for birthdays and other celebrations after the holidays.
Explore more Gift Wrapping Station Ideas or browse Home Organization.