Life in Ideas
Small Apartment Coffee Bar Ideas
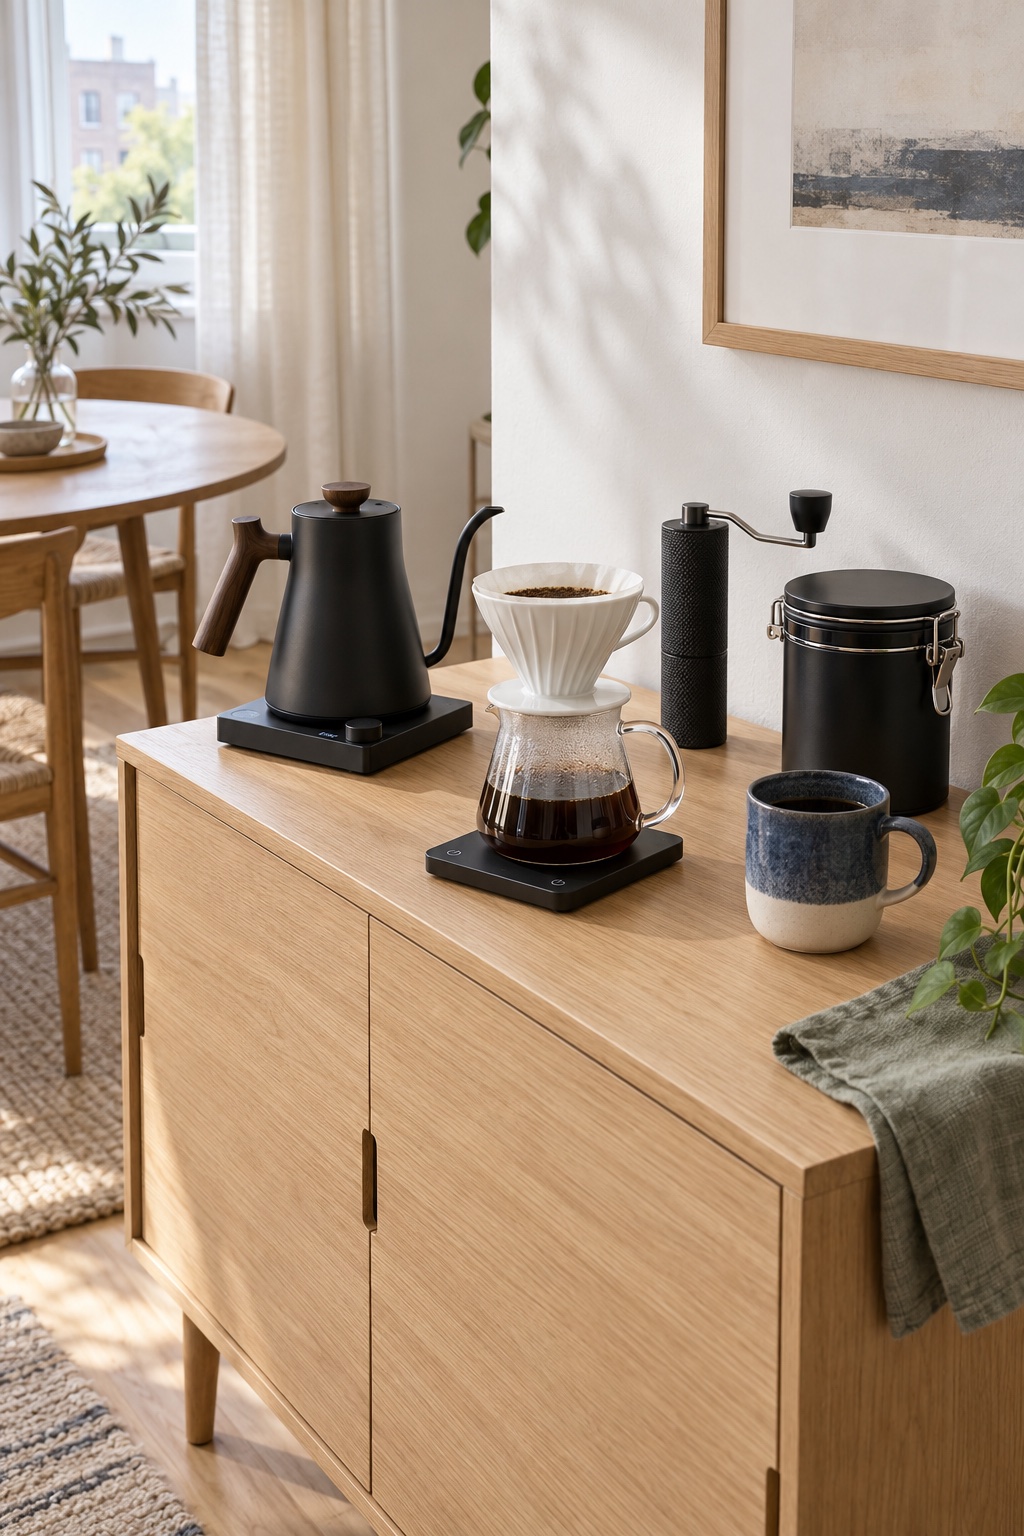
An apartment sideboard can make room for a coffee ritual as well as the rest of daily life. A pour-over brewer and hand grinder bring useful detail to the wood-and-navy arrangement, then can be put away when the surface is needed. Start with the furniture you have and keep the routine easy to reset.
Shop the Look

Fellow Stagg EKG Pro
A temperature-controlled electric pour-over kettle in matte black with walnut accents. A premium option for frequent brewing; use it only on its matching powered base.
View on Amazon ↗
HARIO V60 Ceramic Brewing Kit
A white size-02 ceramic dripper with a glass server and paper filters. The matching pieces create a compact place to brew and serve.
View on Amazon ↗
TIMEMORE C3S Pro Grinder
A black manual coffee grinder with a folding handle. Fold it for storage after grinding rather than leaving the crank across the work area.
View on Amazon ↗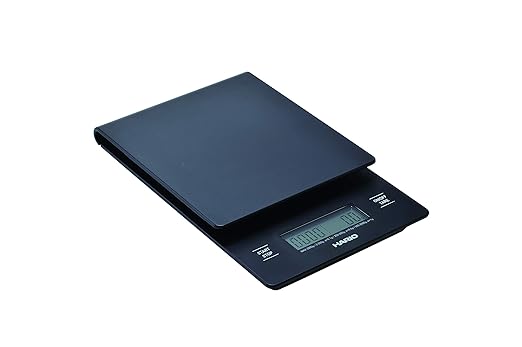
HARIO Drip Scale and Timer
A compact scale combines weighing and brew timing. Let the reading settle and keep spills away from the controls.
View on Amazon ↗
Coffee Gator Coffee Canister
A black canister with a clasp, valve and date tracker. It keeps your everyday beans together; it is not a vacuum storage system.
View on Amazon ↗
KINTO Navy and White Mug
A 320 ml porcelain mug with a navy glaze and light base. Its small color accent works with the black equipment and warm wood.
View on Amazon ↗As an Amazon Associate I earn from qualifying purchases. Affiliate Disclosure

Use a Surface You Already Have
Small apartment coffee bar ideas do not have to start with buying another piece of furniture. An existing dining-area sideboard can hold a manual brewing station while preserving kitchen prep space. This arrangement uses a pour-over kit, an electric kettle and a hand grinder, with the smaller tools stored when the surface is needed for something else.
Choose a stable, level surface that can handle the equipment and routine moisture according to its care instructions. Look for a nearby suitable outlet and an easy route to the sink for filling and washing. Avoid a location where the cord crosses a doorway or hangs into the route to your dining table.
Measure the actual equipment footprints and leave room to lift the kettle and move the server comfortably. A scene can suggest a pleasing arrangement, but your available depth and the appliance instructions decide where each piece belongs. Keep the pouring area clear of the edge and away from a chair someone may pull out.
Build a Simple Pour-Over Station
Arrange the kettle on one side, the dripper and server in the middle, and your mug nearby. The scale belongs beneath the server while brewing. Place the bean canister toward the back only if it remains easy to reach; do not make the kettle difficult to lift just to maintain a symmetrical display.
The selected HARIO kit pairs a size-02 ceramic dripper with a 600 ml glass server and suitable paper filters. The server capacity is a size reference, not an instruction to fill it to the rim. The KINTO mug is 320 ml, so plan the amount you brew for the cup or cups you intend to serve.
A manual grinder suits this layout because it needs no additional outlet and can go into a drawer afterward. It also means doing the grinding yourself for each batch. If your mornings are rushed, decide whether that routine suits you before investing in a more elaborate pour-over setup.
Keep the Brewing Routine Easy to Reset
Bring out a filter, weigh the beans and grind the amount needed. Prepare the filter and brewer according to their instructions, then brew using a recipe suited to your coffee and dripper. Keep a spoon or a small cloth within reach rather than filling the station with accessories used only occasionally.
The Fellow Stagg EKG Pro provides temperature control and is the higher-priced centerpiece of this selection. It makes the most sense if you brew pour-over regularly and value that control. An appropriate kettle you already own may be enough when you are starting out. The electric EKG must not be placed on a stovetop.
Let the scale reading settle before making adjustments, and keep its controls dry. Lift the glass server with care and wash it according to its care instructions. After brewing, remove the used filter, wipe drips and return the dry smaller tools to storage so the apartment surface remains usable.
Store the Pieces Without Losing the Look
Fold the TIMEMORE handle when storing the grinder, and keep spare filters flat in a dry drawer or cupboard. The coffee canister can stay visible if it does not crowd the brewing area. Use its date tracker as a reminder and retain the original bag information for the coffee you put inside.
The canister is labeled by a nominal coffee weight, and the amount that fits varies with the beans. Do not interpret that number as fluid capacity or assume every bag will fit. Its valve and clasp do not make it a vacuum container or replace buying coffee in an amount you will use.
For styling, repeat the existing wood tone and let the navy-and-white mug be the accent. A plant or a picture can sit farther from the hot-water area if there is spare room. Neither is needed to make the station feel finished, and neither should take the space where you handle a hot server.
When the sideboard doubles as a serving area, store the cool, dry brewing pieces before guests arrive. Keep the kettle base and cord arranged according to the manufacturer instructions. This flexible approach works without adding a wall shelf or a cart to an already compact room.
Find more layouts in our small coffee bar ideas collection.
Explore more Coffee Bar Ideas.