Life in Ideas
DIY Coffee Bar With Peel and Stick Wallpaper
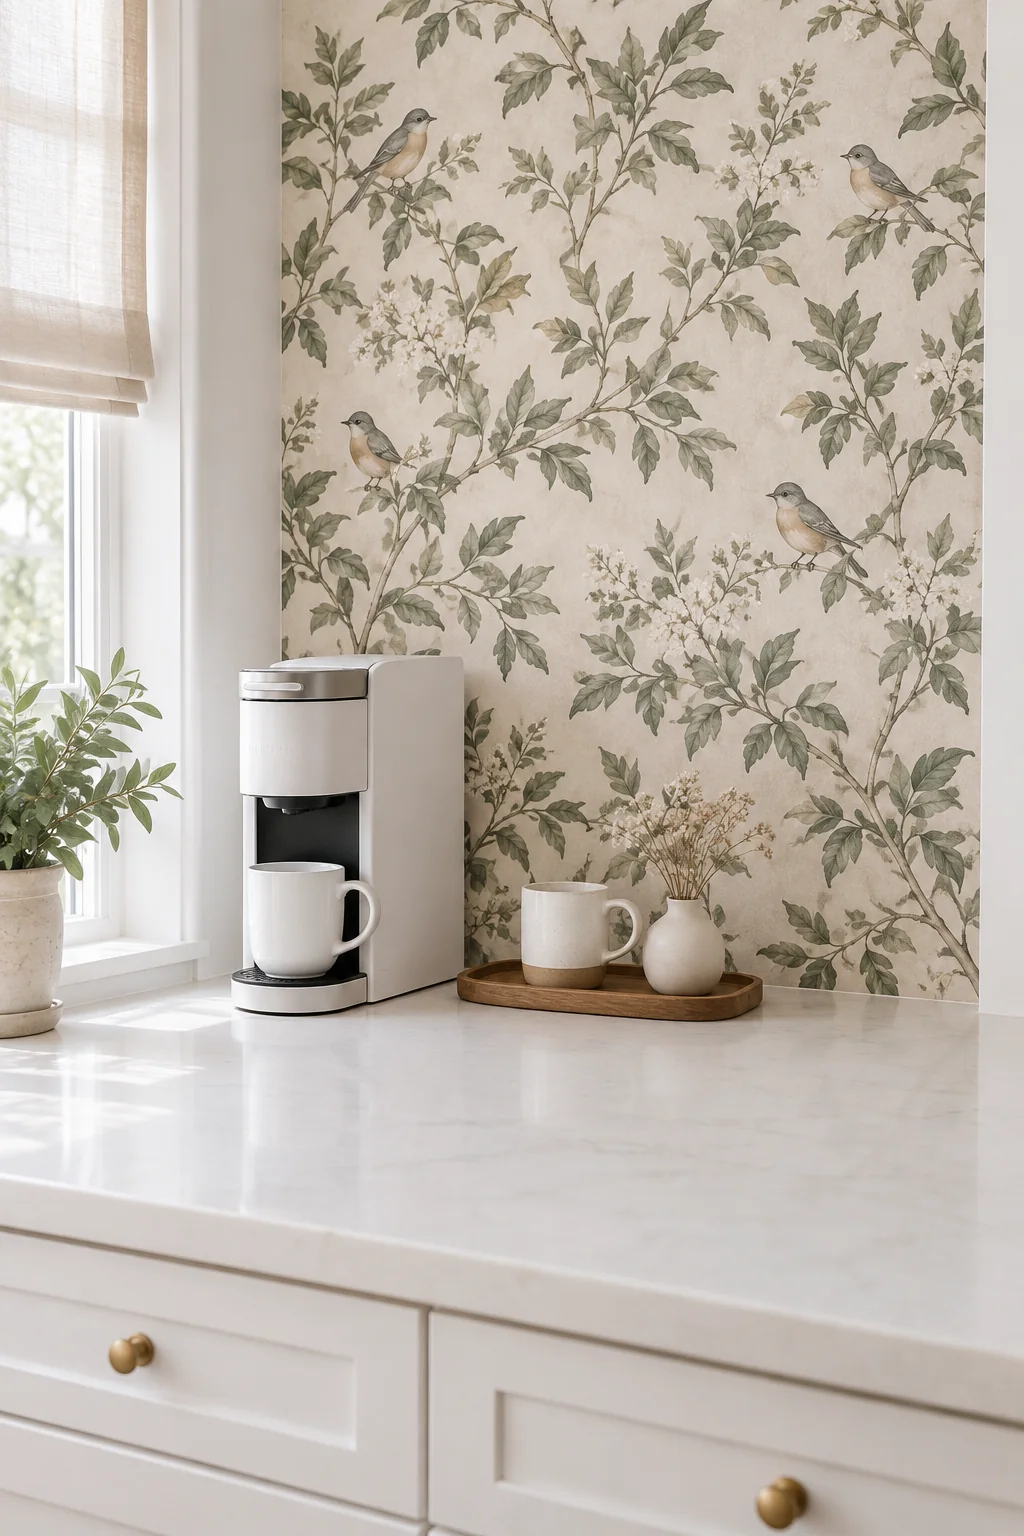
A botanical backdrop gives this small coffee corner a place of its own within the kitchen. Sage leaves sit behind white ceramics and wood, with the brewer still easy to reach on the counter. Peel and stick wallpaper can make the change feel manageable when the wall finish, measurements and pattern planning suit the project.
Shop the Look

Sage Songbird Wallpaper
A leafy sage pattern for a smooth coffee nook wall. Measure the panel and allow for the pattern repeat.
View on Amazon ↗
White Slim Coffee Maker
A narrow white brewer for the finished nook. Allow for its 15.2-inch depth and extra lid clearance.
View on Amazon ↗
Wallpaper Tool Kit
Smoothing tools, a trimming knife and measuring tape for preparing a neat decorative back panel.
View on Amazon ↗
Rustic White Mugs
Soft white glaze and natural clay bases echo the pale wall and wood tray. Normal serving capacity is 11 oz.
View on Amazon ↗
Small Acacia Tray
A 10 × 5.5 inch tray gives a daily mug a defined spot while leaving room for pouring.
View on Amazon ↗
Small White Vase
A simple accent that lets the wallpaper stand out. Add your own short stems; flowers are not included.
View on Amazon ↗As an Amazon Associate I earn from qualifying purchases. Affiliate Disclosure
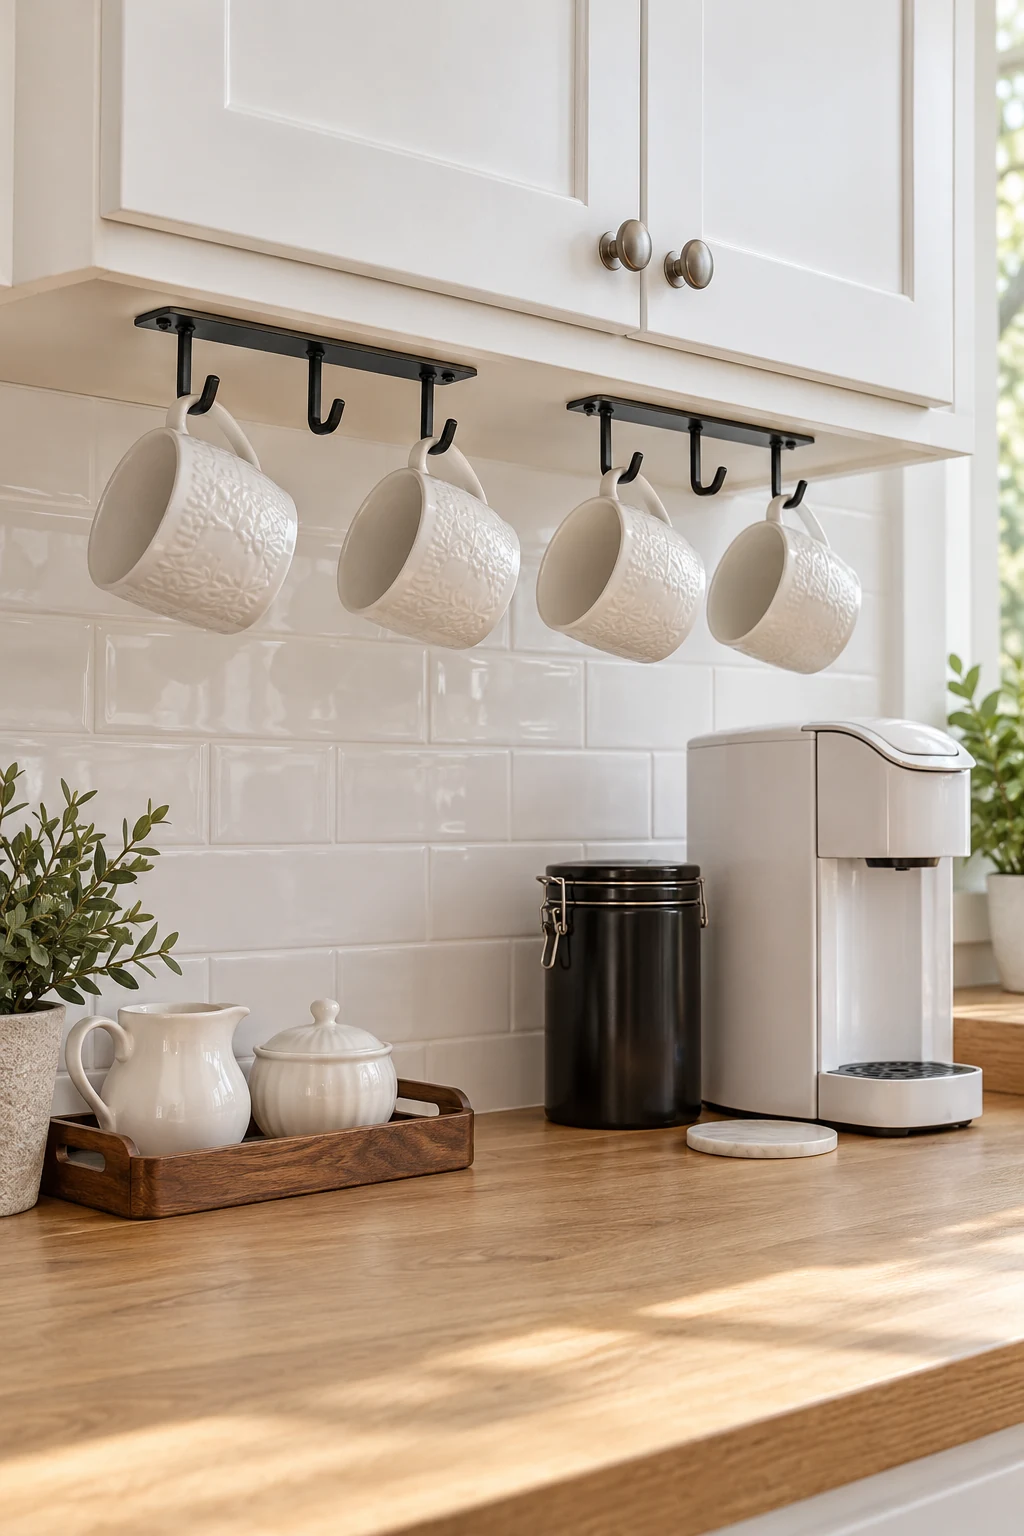
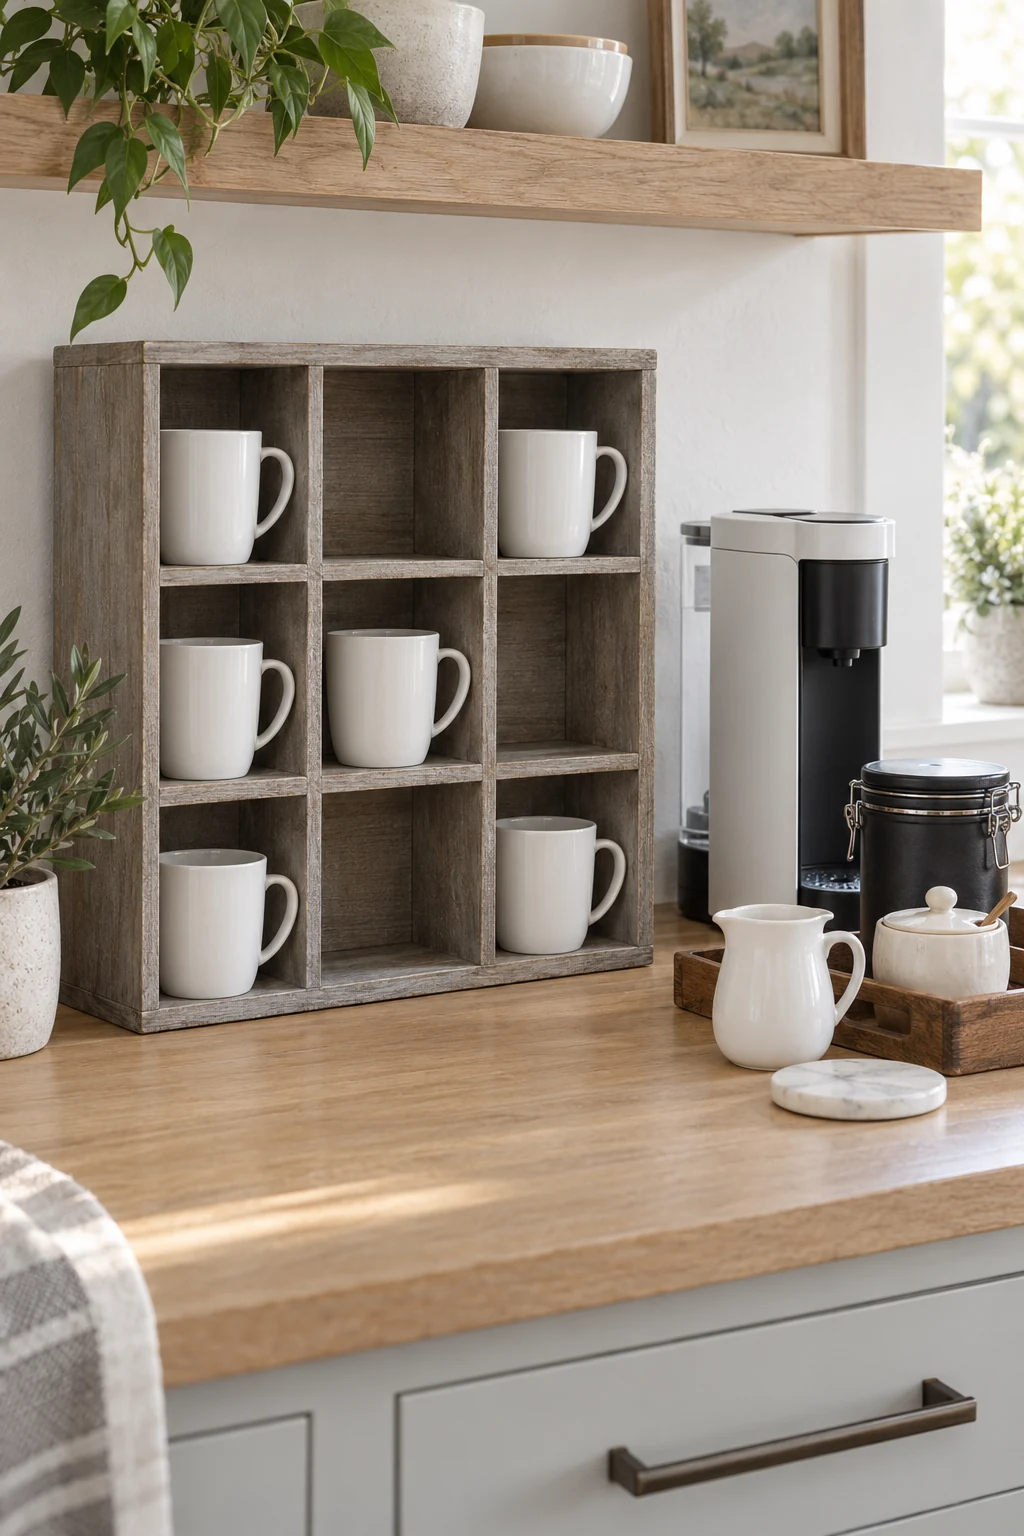
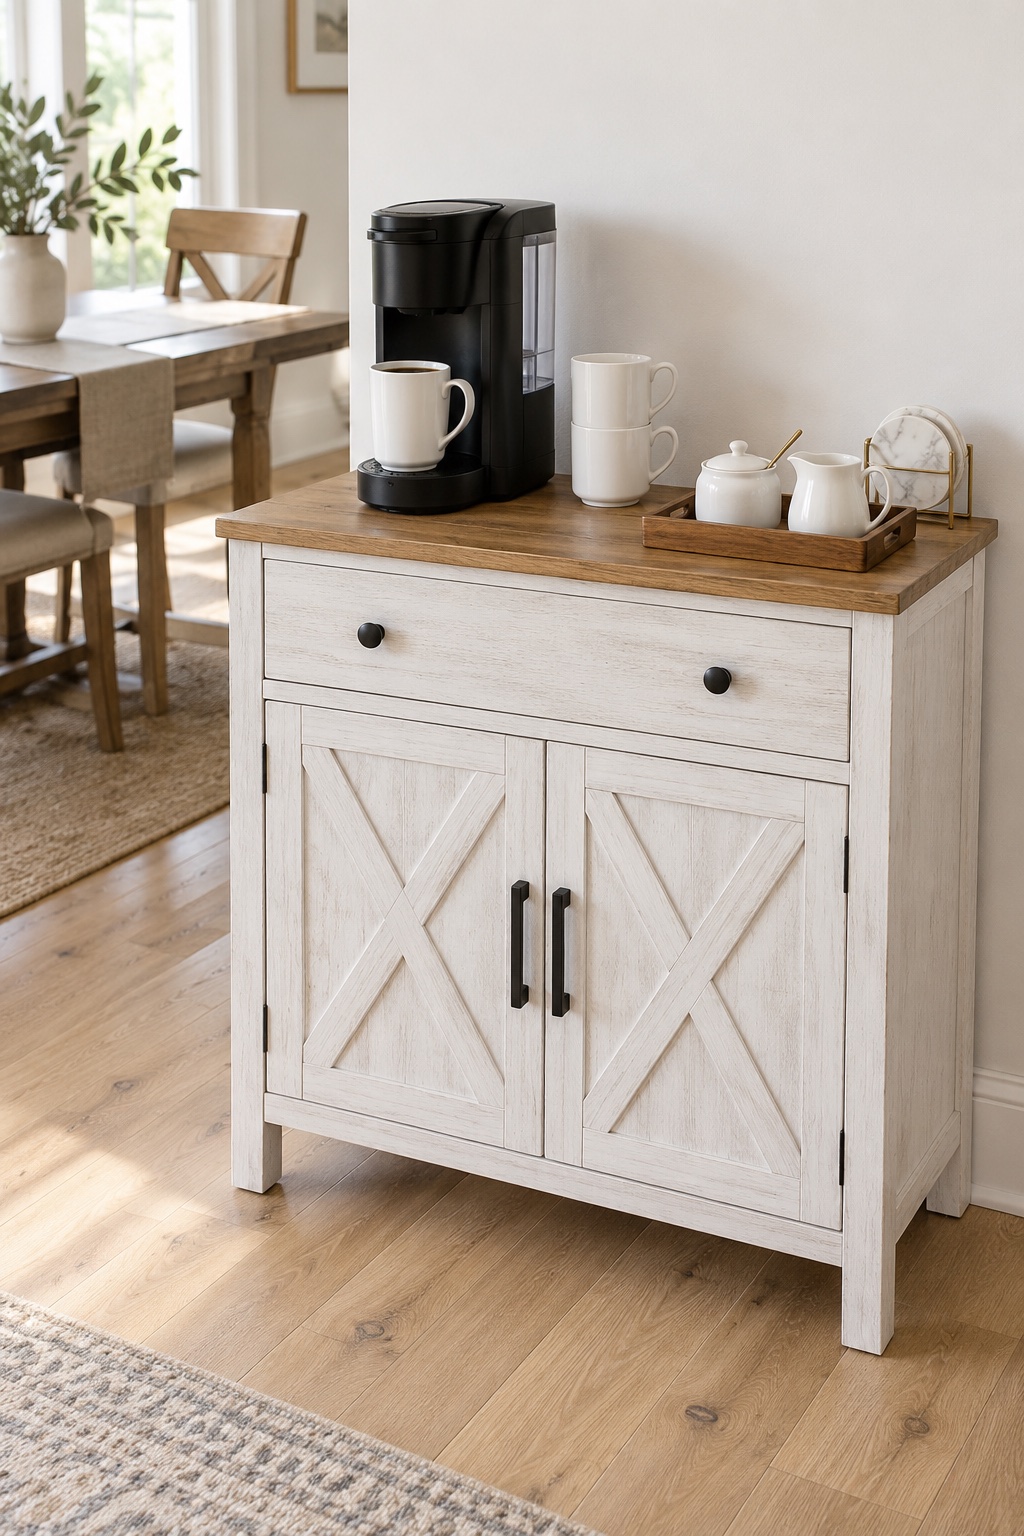
Choose a Wallpaper Area Before Shopping
Start with the wall behind the coffee station rather than the entire kitchen. A defined rectangle above an existing counter can frame the brewer and leave the surrounding room light. Check where the paper will stop: a corner, cabinet edge or trim line usually gives a cleaner finish than an arbitrary edge.
Let the pattern be the main decoration. Sage leaves and a warm ivory background work with white cabinetry and wood accessories without requiring a matching set of appliances. Hold a sample beside the counter in both daylight and evening light before committing to the full area.
Measure for Full Strips and Pattern Matching
Measure the wall width and height in several places and use the largest measurements. The selected NuWallpaper roll is 20.5 inches wide and 18 feet long. Its stated coverage is an area figure, not a guarantee that one roll will cover your particular shape.
For example, a 36-inch-wide by 48-inch-high panel needs two vertical strips at this roll width. Each strip must be longer than the finished height to allow trimming. A repeating design also uses extra length to bring neighboring motifs into alignment. Check the package’s repeat and match instructions before counting the usable strips per roll.
Buy the required rolls together and compare their batch numbers. Keep an offcut for a future patch. If you are using an existing roll, make a cutting plan first; a leftover piece with enough square footage can still be too short for a full-height strip.
Prepare the Wall and Apply the Paper
Read the selected paper’s current instructions before starting. The wall needs to be clean, dry, flat and compatible with the adhesive. Textured walls, loose paint and uncured finishes are poor starting points. Test a small hidden area, particularly on a rental wall; removable wallpaper is not a universal promise of damage-free removal. See the WallPops surface and installation FAQs.
Clear the counter and move the coffee maker away. Establish a vertical guide with a level, plan where the first full motif will sit and cut the opening strip with trimming allowance. Peel back a short section of backing, position the top and smooth gradually from the middle toward the edges. Work downward without stretching the paper.
Dry-align the next strip’s design before exposing its adhesive. Follow the product’s seam instructions, then trim against a straightedge with a sharp blade. Keep wallpaper clear of electrical openings. If a faceplate must be removed, switch off power at the breaker and verify it is off before working around it.
Leave Room for Brewing and Refilling
The white K-Slim is narrow, but its listed depth is 15.2 inches. Measure depth as well as width, and check the manufacturer’s required clearances. Leave enough room to lift the lid and remove the water reservoir. An open wall above the machine is useful here because a low shelf would interrupt that movement.
Keep the brewer on the counter, with its feet fully supported. Use the small acacia tray for a mug rather than placing the machine on it. Set the vase outside the brewing and refill area; a short stem arrangement is easier to move when wiping down the counter.
Wallpaper is the decorative backdrop, not a heat-resistant splash guard. Avoid putting it in a steam path or next to a hob. Keep normal brewing moisture away from the paper and use a suitable wipeable surface where frequent splashes are expected.
Peel and Stick Coffee Bar Questions
Can I Install It on a Textured Wall?
The selected wallpaper is intended for smooth, flat surfaces. A strong pattern will not solve an adhesion problem. Check the manufacturer’s requirements and prepare a compatible surface before using it.
Is This Suitable for a Rental?
It may be, with permission and a successful test on the actual finish. Keep the original wall condition and the paper’s removal instructions in mind. Removal results depend on the paint, wall preparation and adhesive.
Do I Need New Coffee Equipment?
No. Keep a working brewer and use the wallpaper to define its space. Choose accessories around the equipment’s real footprint, then leave a clear place to set down a cup.
Explore more Coffee Bar Ideas.